Pre-requisites
This tutorial requires that you followed the basic tutorial and added the following components to your ODH deployment using the KfDef shown below:
- spark-operator
- hue
- thrift-server
- ceph-nano
# ODH uses the KfDef manifest format to specify what components will be included in the deployment
apiVersion: kfdef.apps.kubeflow.org/v1
kind: KfDef
metadata:
  name: opendatahub
spec:
  applications:
    - kustomizeConfig:
        repoRef:
          name: manifests
          path: odh-common
      name: odh-common
    # Create the SecurityContextConstraint to grant the ceph-nano service account anyuid permissions
    - kustomizeConfig:
        repoRef:
          name: manifests
          path: ceph/object-storage/scc
      name: ceph-nano-scc
    # Deploy ceph-nano for minimal object storage running in a pod
    - kustomizeConfig:
        repoRef:
          name: manifests
          path: ceph/object-storage/nano
      name: ceph-nano
    # Deploy Radanalytics Spark Operator
    - kustomizeConfig:
        repoRef:
          name: manifests
          path: radanalyticsio/spark/cluster
      name: radanalyticsio-spark-cluster
    # Deploy Open Data Hub JupyterHub
    - kustomizeConfig:
        parameters:
          - name: s3_endpoint_url
            value: s3.odh.com
        repoRef:
          name: manifests
          path: jupyterhub/jupyterhub
      name: jupyterhub
    # Deploy addtional Open Data Hub Jupyter notebooks
    - kustomizeConfig:
        overlays:
          - additional
        repoRef:
          name: manifests
          path: jupyterhub/notebook-images
      name: notebook-images
    # Deploy Hue with configuration to access the ceph-nano object store
    - kustomizeConfig:
        # These parameters are required to allow access to object storage provided by ceph-nano
        parameters:
          - name: s3_is_secure
            value: "false"
          - name: s3_endpoint_url
            value: "ceph-nano-0"
          - name: s3_credentials_secret
            value: ceph-nano-credentials
        repoRef:
          name: manifests
          path: hue/hue
      name: hue
    # Deploy Thriftserver with configuration to access the ceph-nano object store
    - kustomizeConfig:
        overlays:
          - create-spark-cluster
        # These parameters are required to allow access to object storage provided by ceph-nano
        parameters:
          - name: spark_url
            value: "spark://spark-cluster-thriftserver"
          - name: s3_endpoint_url
            value: "http://ceph-nano-0"
          - name: s3_credentials_secret
            value: ceph-nano-credentials
        repoRef:
          name: manifests
          path: thriftserver/thriftserver
      name: thriftserver
  repos:
    - name: manifests
      uri: 'https://github.com/opendatahub-io/odh-manifests/tarball/v1.0.0'
All screenshots and instructions are from OpenShift 4.6.
Exploring Data Catalog
The Data Catalog is a set of components with which you can read data stored in Data Lakes, create tables and query them in a SQL-like style. You can find below a picture of the simplified architecture of Data Catalog:
These are the components that are part of Data Catalog:
- Spark SQL Thrift server to enable an endpoint where clients can connect using an ODBC/JDBC connection
- Cloudera Hue as a Data Exploration tool to explore the Data Lake, create tables and query them. You can
also create dashboards using the tables managed by Hive Metastore
Using Data Catalog
- Find the route to Hue. Within your Open Data Hub Project click on Networking -> Routes

-
For the route named hue, click on the location to bring up Hue (typically
http://hue-project.apps.your-cluster.your-domain.com). -
It will open the first-time login page where you can create the superuser for Hue.
- As the first login, Hue will show a tutorial about the interface. You can skip the tutorial by closing the window.
- The Hue editor will appear in a blank textarea.
Now we can create a table from a file inside the Data Lake.
Creating and querying tables
- Let's create first a database with the following command (You can run the query by either clicking on the play button in the left or type Ctrl+Enter):
CREATE DATABASE opendatahub;
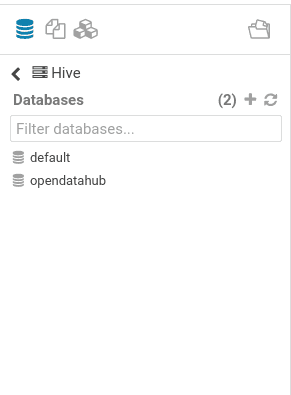
- In the explorer, click on the refresh button. The new database will appear:
- Now let's select the database with the command:
USE opendatahub;
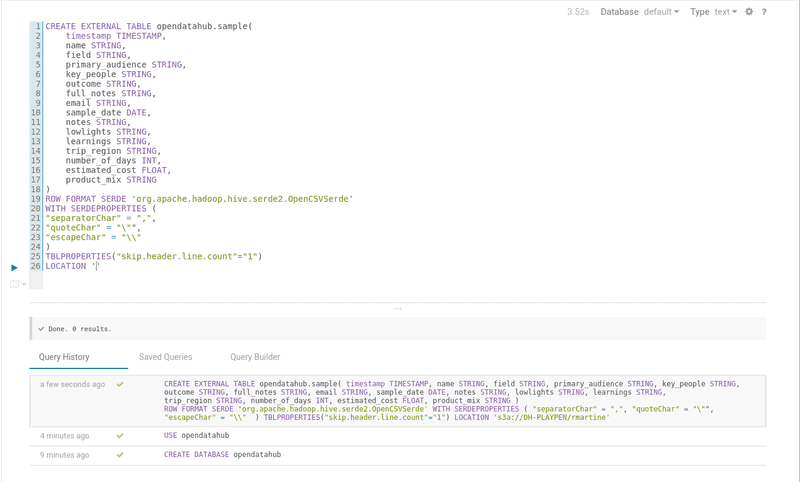
- We will create a table from the
sample_data.csvfile used in theBasic Tutorialsection:
CREATE EXTERNAL TABLE opendatahub.sample(
    timestamp TIMESTAMP,
    name STRING,
    field STRING,
    primary_audience STRING,
    key_people STRING,
    outcome STRING,
    full_notes STRING,
    email STRING,
    sample_date DATE,
    notes STRING,
    lowlights STRING,
    learnings STRING,
    trip_region STRING,
    number_of_days INT,
    estimated_cost FLOAT,
    product_mix STRING
)
ROW FORMAT SERDE 'org.apache.hadoop.hive.serde2.OpenCSVSerde'
WITH SERDEPROPERTIES (
"separatorChar" = ",",
"quoteChar" = "\"",
"escapeChar" = "\\"
)
TBLPROPERTIES("skip.header.line.count"="1")
LOCATION 's3a://<bucket-name>/<csv-file-rootdir>'
NOTE: The LOCATION statement needs a path to the directory where the file is stored, not the file path.
- You will see the result of table creation.
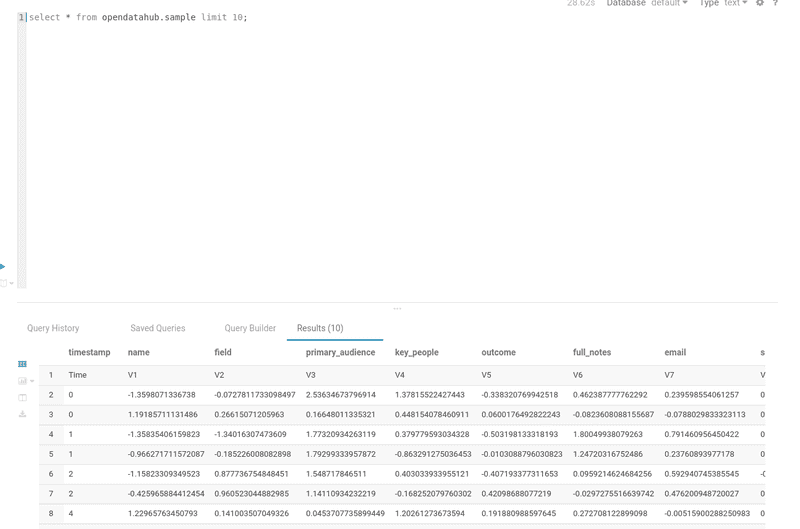
- We can now query the data.
select * from opendatahub.sample limit 10;
- Check the query results in Hue.


